
Under-Stair Lighting With a Light Sensor: Placement and Setup
Match a light sensor to under-stair LEDs, position it away from strip glare, and set the lux threshold using conditions at your staircase.
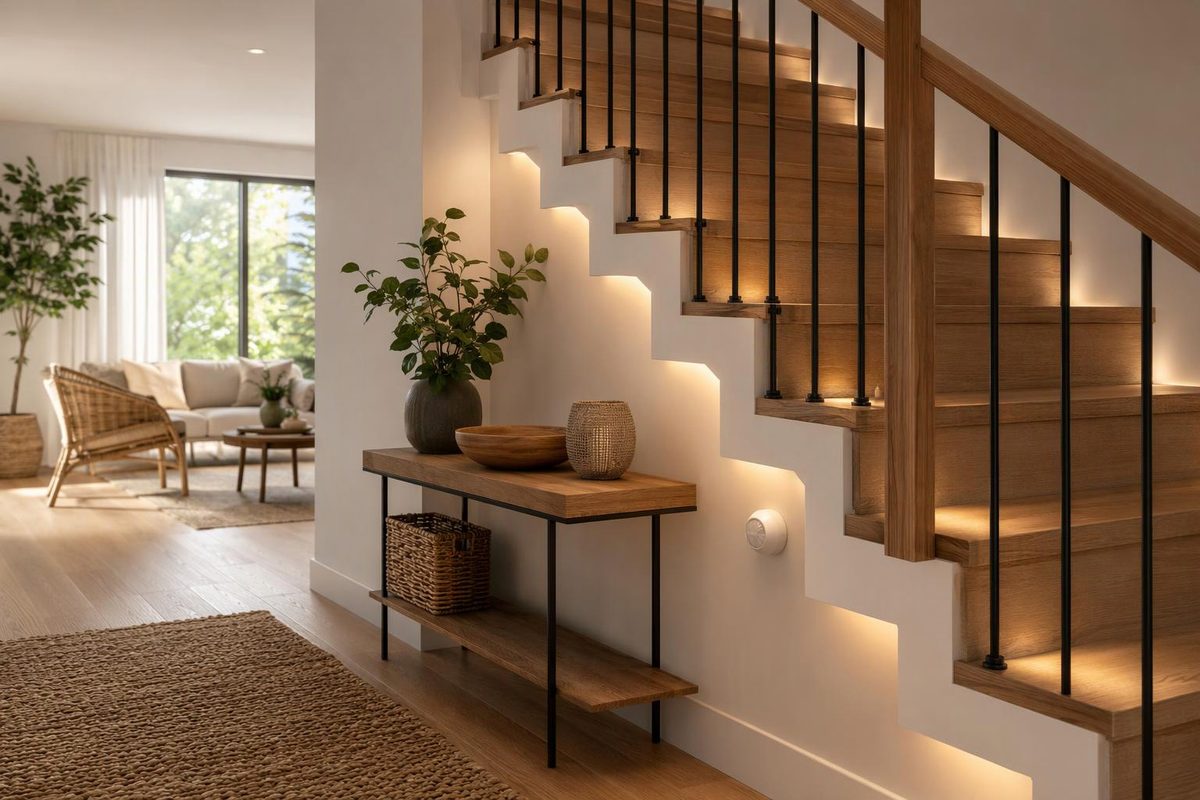
For LED strips beneath stair treads, choose motion sensing with an adjustable ambient-light threshold if you want the lights to activate only when someone approaches in dim conditions. Choose light-only switching if you want a continuous glow whenever the area is dark.
The light sensor and motion sensor do different jobs: one measures available light; the other detects an approach. A kit advertised as “sensor controlled” does not necessarily include both.
Choose the control behavior first
| Desired behavior | Control to look for | Setting to verify |
|---|---|---|
| Lights remain on while the area is dark | Photocell/twilight switch | Turn-on threshold and turn-off behavior |
| Lights activate on approach, but only in dim conditions | Motion sensor plus ambient-light threshold | Lux threshold, timeout and retrigger behavior |
| Lights activate on approach at any light level | Motion sensing with daylight inhibition disabled | Whether “OFF” disables the daylight check |
| Lights adjust output as daylight changes | Documented daylight-dimming system | Calibration and compatible dimming interface |
Daylight switching and continuous daylight dimming are distinct control methods; a light sensor alone does not establish which behavior a system provides. Lutron daylight-control guide
An adjustable lux threshold is not automatic dimming. For example, the Skydance ES32 uses its daylight threshold to prevent PIR-triggered activation when ambient light is sufficient; brightness is a separate setting. Its March 2026 manual lists thresholds of 10, 30, 50, 100, 150 and 200 lux, plus OFF, with daylight detection disabled by default. Those settings belong to that controller, not every stair-light kit. This threshold function is not a light-only twilight switch. Skydance ES32 manual
If “under-stair” means an enclosed storage cupboard rather than beneath the treads, consider whether a door switch or motion-only control better matches the task. A sensor permanently inside a dark cupboard has little useful daylight variation to measure.
Match the sensor to the electrical system
For ordinary 12 V or 24 V constant-voltage strips, verify:
- Voltage: supply output, strip voltage and controller operating range must agree.
- Load: check both total controller capacity and each step output’s limit.
- Sensor interface: use the specified sensor head, connector and pinout. A light-sensing input is not an LED power output.
- Placement flexibility: check whether the daylight head is separate from the motion detector, and whether approved extension wiring is available.
- Control options: look for daylight-disable testing, usable threshold adjustment and a documented manual override if needed.
For scale, a hypothetical 12 W step segment draws 0.5 A at 24 V or 1 A at 12 V. The ES32 lists a 1 A per-channel maximum, so the 12 V example reaches that limit; matching voltage alone is insufficient. Size the supply for all connected loads and the manufacturer’s required allowance; see constant-voltage power-supply selection. ES32 electrical ratings
Position the daylight head—not just the motion detector
The motion detector needs a useful view of the approach. The daylight head needs exposure to the light conditions that should permit or inhibit activation. These may require different positions.
Skydance’s installation guide explicitly requires the daylight head to be exposed to ambient light in the control area, without being covered by shade. Do not hide it beside the controller inside a closed under-stair cavity. ES32 installation guide
Temporarily position the head before drilling. Evaluate a location that:
- Receives ambient light from the stair area rather than remaining in permanent shadow beneath a tread.
- Is not directly illuminated by the LED strip it controls.
- Does not receive a bright window patch while the walking surface remains comparatively dark.
- Remains unobstructed by trim, stored objects or furnishings.
Direct fixture light can distort a daylight sensor’s response. Lutron’s daylight-control guide identifies this as fixture feedback, which can cause oscillation or under-lit areas, and recommends avoiding direct light from fixtures. Its commercial ceiling-placement distances are not stair-sensor mounting rules, but the feedback principle is relevant here. Lutron daylight-sensor guide
If a combined motion/light sensor cannot obtain both a useful approach view and a representative light reading, consider a controller with a separate daylight head. Do not solve strip feedback by enclosing the head in darkness.
Set the lux threshold from actual stair conditions
There is no universal stair-sensor lux setting. The reading at the sensor head is not necessarily the illuminance on the tread, and a trigger threshold does not establish adequate stair lighting.
For a controller that permits motion activation below the selected threshold, a higher threshold allows activation in brighter conditions. A lower threshold waits for darker conditions.
Use this commissioning sequence:
- Verify motion operation first. Disable daylight inhibition using the documented setting, then test approaches from both ends. On the ES32,
LuxSet: OFFdisables the daylight check—it does not mean “lights off.” - Restore daylight sensing. Leave the strips off and observe the controller’s light reading, if provided, during adequately lit and dim conditions. The ES32 displays the detected lux value after
*. - Choose a threshold between those readings. As an illustrative example, if the head reads 18 lux when supplemental lighting is wanted and 80 lux when it is not, 30 or 50 lux are candidate settings on that controller. They are trial settings, not stair-lighting standards.
- Retest with normal household lighting. Include closed blinds, cloudy daytime conditions and the landing light switched on. Check the darker steps as well as the sensor location.
- Test a complete lighting cycle. Confirm that activation, any repeat approach and shutoff work as intended. Check that the lights remain on throughout the intended traversal, including slower users. Adjust the timeout separately from the lux threshold.
ES32 threshold, display and timer instructions
If motion works with daylight sensing disabled but fails when enabled, compare the live reading with the threshold before changing motion sensitivity. If switching changes when the strips illuminate the head, investigate feedback and placement. If the lights activate even in bright conditions, check whether daylight sensing remains disabled or the head is shaded.
Use safely terminated low-voltage equipment for testing and disconnect power before altering connections. Fixed mains wiring belongs with a qualified electrician under local requirements; sensor-controlled strips should not be assumed to replace required stair or egress lighting.