Skip to Content

Strips, drivers, dimming — lighting that behaves

LED Lighting Zone
Home/Home Lighting
Home Lighting

Outdoor flush mount light: A Practical Guide

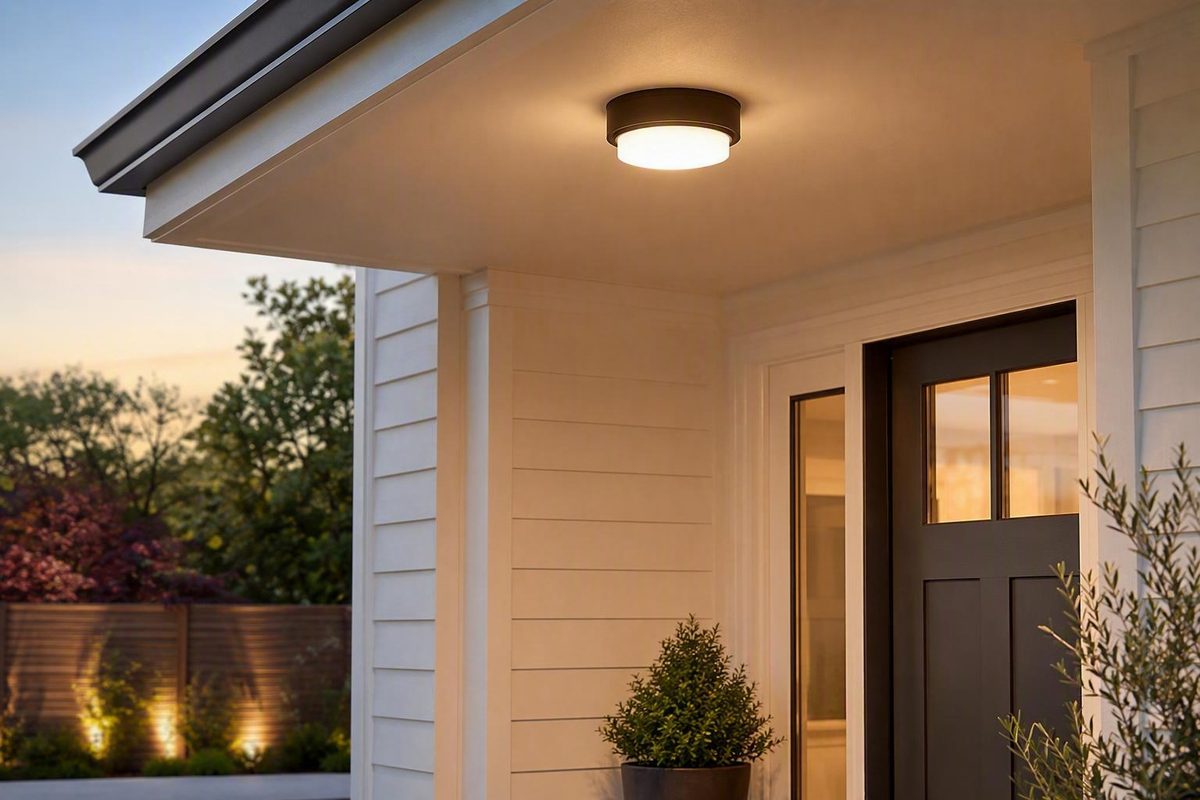
An outdoor flush mount light is a ceiling-mounted fixture that sits close to the mounting surface and is designed for an exterior location. It is often a…

Tomas Reyes · Published · 7 Min Read

An outdoor flush mount light is a ceiling-mounted fixture that sits close to the mounting surface and is designed for an exterior location. It is often a practical choice for porches, covered entrances, soffits, and other places where a hanging fixture would consume too much headroom. Choose one by matching the exact fixture to the site’s exposure, available clearance, desired brightness, electrical setup, and maintenance needs—not by appearance alone.

What outdoor flush mount light means

“Flush mount” describes how the fixture relates to the ceiling. Its canopy and body fit directly against, or very near, the mounting surface. A semi-flush light drops farther below the ceiling on a short stem or frame, so the distinction matters when clearance is limited.

“Outdoor” should mean more than outdoor styling. The complete fixture needs to be approved by its manufacturer for the conditions at the intended mounting position. A ceiling under a deep, enclosed porch faces different exposure from a ceiling reached by wind-driven rain. Do not assume that every covered location is equivalent or that a fixture suitable for one exterior ceiling can be installed anywhere outdoors.

The phrase also covers two broad light-source designs:

  • Replaceable-bulb fixtures accept compatible lamps that can be changed independently.
  • Integrated LED fixtures contain a built-in light source and driver, producing a slimmer, more unified design in many cases.

Neither approach is automatically better. Replaceable bulbs can simplify routine replacement, while an integrated fixture may offer a shallower profile or more controlled light distribution. The tradeoff is that a failed driver or light engine may be difficult or uneconomical to replace unless the manufacturer provides serviceable parts.

How outdoor flush mount light works

A hardwired outdoor flush mount receives power through the building wiring at an electrical box. The fixture’s mounting hardware connects it to that box or to another approved support specified in its instructions. A canopy covers the connection area, while a shade, lens, or diffuser controls how the light reaches the space.

In a replaceable-bulb model, the fixture supplies power to one or more sockets. Brightness, color appearance, dimming behavior, and energy use then depend partly on the bulbs selected. The bulbs must satisfy the fixture’s stated requirements, including base type, maximum permitted load, physical size, and any restrictions associated with enclosed fixtures.

In an integrated LED model, a driver converts incoming power into the form required by the LED light engine. Because the driver, LEDs, housing, diffuser, and thermal design operate as a system, a headline light-output figure tells only part of the story. Glare, beam spread, mounting height, diffuser opacity, and nearby surface colors all affect how the installation feels.

Outdoor performance also depends on details that are easy to overlook: openings around the canopy, gasket placement, drainage or condensation management, hardware materials, and the permitted mounting orientation. Follow the instructions for the exact model rather than transferring requirements from a similar-looking fixture.

The main approaches

Begin by comparing fixture categories rather than isolated decorative features.

Approach Main advantage Main tradeoff Often suits
Replaceable-bulb flush mount Bulb can be changed separately Bulb compatibility affects performance Owners prioritizing serviceability
Integrated LED flush mount Compact, coordinated design Light engine or driver may not be replaceable Low-clearance, streamlined installations
Motion- or photocell-controlled model Automatic operation Sensor placement and behavior need checking Entries and utility areas
Decorative enclosed fixture Conceals the light source and softens glare Lens cleaning and insect intrusion may matter Porches and visible entrances

Exposure is another important dividing line. For a protected porch, confirm that the fixture’s stated location rating covers the actual conditions. For an exposed ceiling, prioritize explicit approval for that exposure, sealed construction, suitable hardware, and clear installation conditions. In coastal or persistently humid settings, look for a manufacturer’s specific environmental claims instead of treating a painted metallic finish as proof of corrosion resistance.

Controls require their own comparison. If you want dimming, a wall timer, a motion sensor, a photocell, or smart control, check compatibility across the entire system. A fixture described as dimmable may still require particular control types, and automatic sensors may behave differently when installed under a deep roof or near another light source.

A practical process

Use a location-first process before browsing by style.

  1. Define the exposure. Note whether rain can reach the ceiling directly or be driven into it by wind. Record humidity, salt-air exposure, temperature extremes, and whether water can collect nearby.

  2. Measure the space. Check ceiling height, fixture depth, canopy diameter, nearby door swing, trim, beams, and access for removing the lens. Also identify whether the ceiling is level or sloped.

  3. Inspect the existing installation. Determine where the electrical box sits and whether its position works with the new canopy. Do not assume a wider fixture will conceal or solve an unsuitable mounting arrangement.

  4. Choose the light effect. Decide whether the fixture is for general visibility, a welcoming entrance, a concentrated task area, or decorative ambience. Compare light output and distribution rather than using wattage as a stand-in for brightness.

  5. Select a light-source strategy. Choose between replaceable bulbs and integrated LEDs based on profile, appearance, future servicing, and replacement-part availability.

  6. Verify the exact documentation. Read the manufacturer’s specification sheet, installation instructions, warranty, and control-compatibility information for the precise model and finish. Retailer summaries can omit important restrictions.

  7. Plan installation and upkeep. Consider how the lens opens, whether replacement bulbs or parts remain accessible, and how easily dirt, insects, or moisture residue can be removed.

Hardwired fixture work involves line voltage. LED Lighting Zone’s published scope is low-voltage systems, and its terms direct panel work to an electrician; use a qualified local professional when the installation is outside your competence or local authorization (LED Lighting Zone’s electrical-work notice).

Common mistakes and tradeoffs

The most common mistake is buying by diameter and finish while treating “outdoor” as a complete specification. Suitability depends on the exact location and the conditions allowed by the fixture instructions.

Other frequent errors include:

  • Confusing an IP code with complete fixture approval. An ingress-protection claim describes a particular enclosure test or construction claim; it should not be treated as a substitute for all electrical, mounting, or location requirements.
  • Transferring strip-light guidance to a luminaire. Ratings and sealing advice for LED strips do not automatically apply to a complete outdoor flush mount with a canopy, driver, wiring compartment, and mounting hardware.
  • Ignoring glare. A bright exposed source can be uncomfortable on a low ceiling. A deeper diffuser or better shielding may be more useful than simply choosing higher output.
  • Overlooking serviceability. A low-profile integrated fixture can look clean, but replacement may involve more than changing a bulb.
  • Assuming a finish is corrosion-proof. Finish color reveals little about the underlying metal, fasteners, coating process, or suitability for salt air.
  • Forgetting cleaning access. An intricate cage or tightly retained lens may become frustrating when mounted overhead.
  • Skipping control checks. Dimmers, sensors, and smart switches should be evaluated against the exact fixture or bulb combination.

There is also a tradeoff between sealing and maintenance. A tightly enclosed fixture may offer better protection against exposure, but it can be harder to open and clean. Likewise, a broad translucent diffuser can soften glare, while also spreading less concentrated light onto a walkway. Choose according to the job the light must perform.

How to choose the next step

Create a shortlist only after recording four things: exposure, maximum dimensions, desired light effect, and preferred service method. Then compare no more than a few fixtures using their original manufacturer documents.

For each candidate, answer these questions:

  • Is the exact model approved for the intended outdoor position?
  • Is ceiling mounting permitted, and is the actual ceiling shape supported?
  • Will the canopy, body, and lens fit without obstructing a door or access panel?
  • Does the output and diffuser design suit the mounting height?
  • Are the bulb, driver, or light engine replaceable?
  • Are the planned dimmer, sensor, or photocell explicitly compatible?
  • What does the warranty cover, and are replacement parts available?
  • Are there special restrictions for temperature, orientation, or environmental exposure?

Reject any candidate whose documentation leaves a critical site condition unresolved. Your concrete next step is to photograph and measure the mounting location, write down its exposure conditions, and take that information to the fixture manufacturer, retailer, or electrician for model-specific confirmation.

What should a beginner know about outdoor flush mount light?

Start with location suitability, not style. “Flush mount” means the fixture stays close to the ceiling; it does not tell you whether the model is appropriate for a protected porch, exposed soffit, sloped ceiling, or coastal environment. Measure carefully, compare light output and glare control, and read the exact installation instructions before buying.

What are the main risks of outdoor flush mount light?

The main concerns are selecting a fixture unsuited to the exposure, creating poor clearance, using incompatible bulbs or controls, and attempting hardwired work without the necessary competence or authorization. Long-term problems can also arise from difficult cleaning, corrosion, moisture entry, or an integrated light source that cannot be serviced. Model-specific instructions and local installation requirements should govern the final decision.

How do you evaluate outdoor flush mount light options?

Compare each option across five categories: environmental suitability, physical fit, light quality, electrical and control compatibility, and long-term serviceability. Use the manufacturer’s documents for the exact model rather than relying only on a marketplace title or transferring specifications from another version. The best option is the one that fits the location and remains practical to operate, clean, and repair—not necessarily the brightest or least expensive fixture.

About the Author

Tomas is a low-voltage electrician who has installed a mile or two of LED strip and debugged every flicker a dimmer can produce.